Taking a break from writing about sales and marketing, I’ll talk about another passion, a set as it were: creativity, building something, trying something new, working with my hands, solving problems/inventing solutions…and the list goes on.
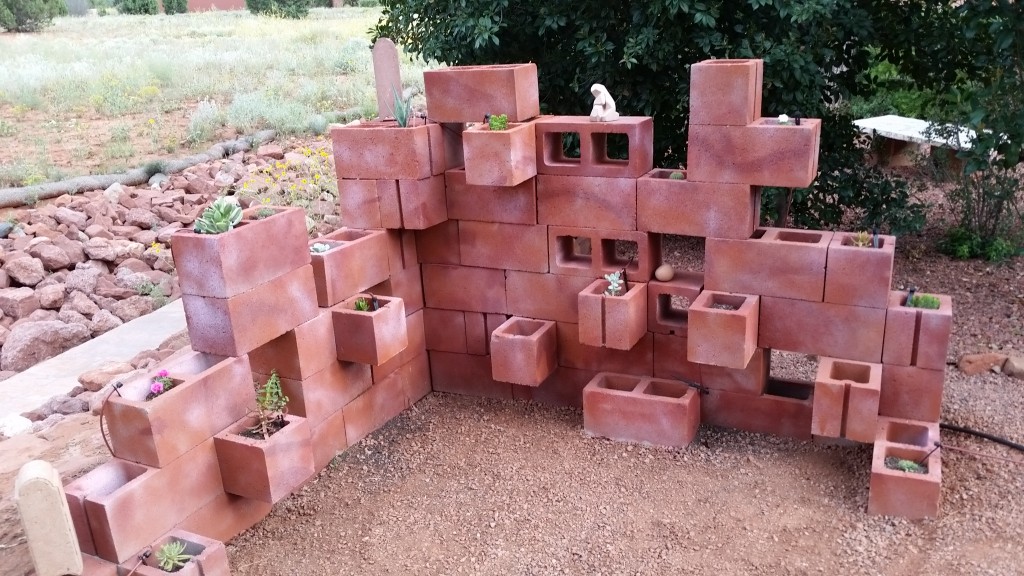
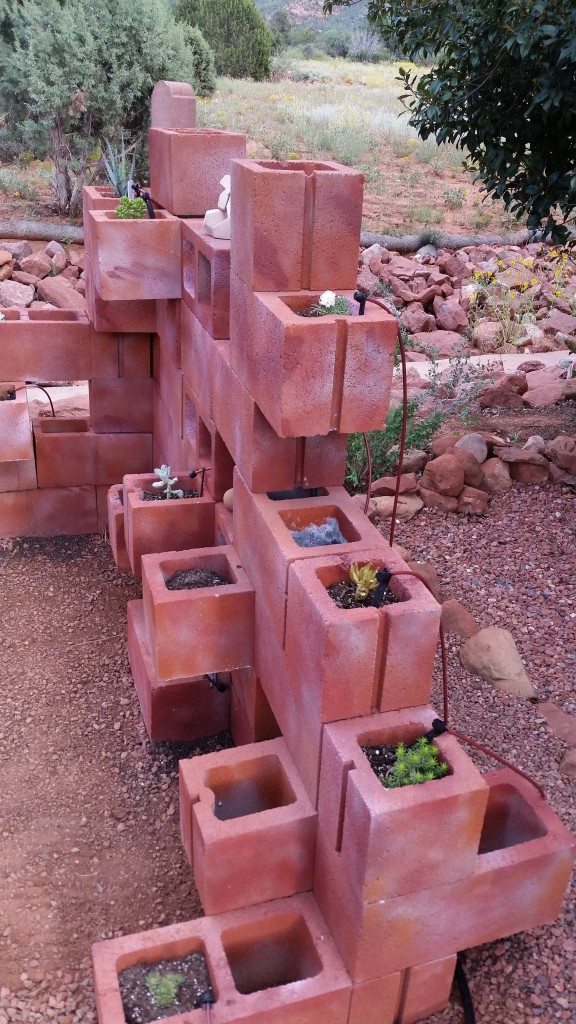
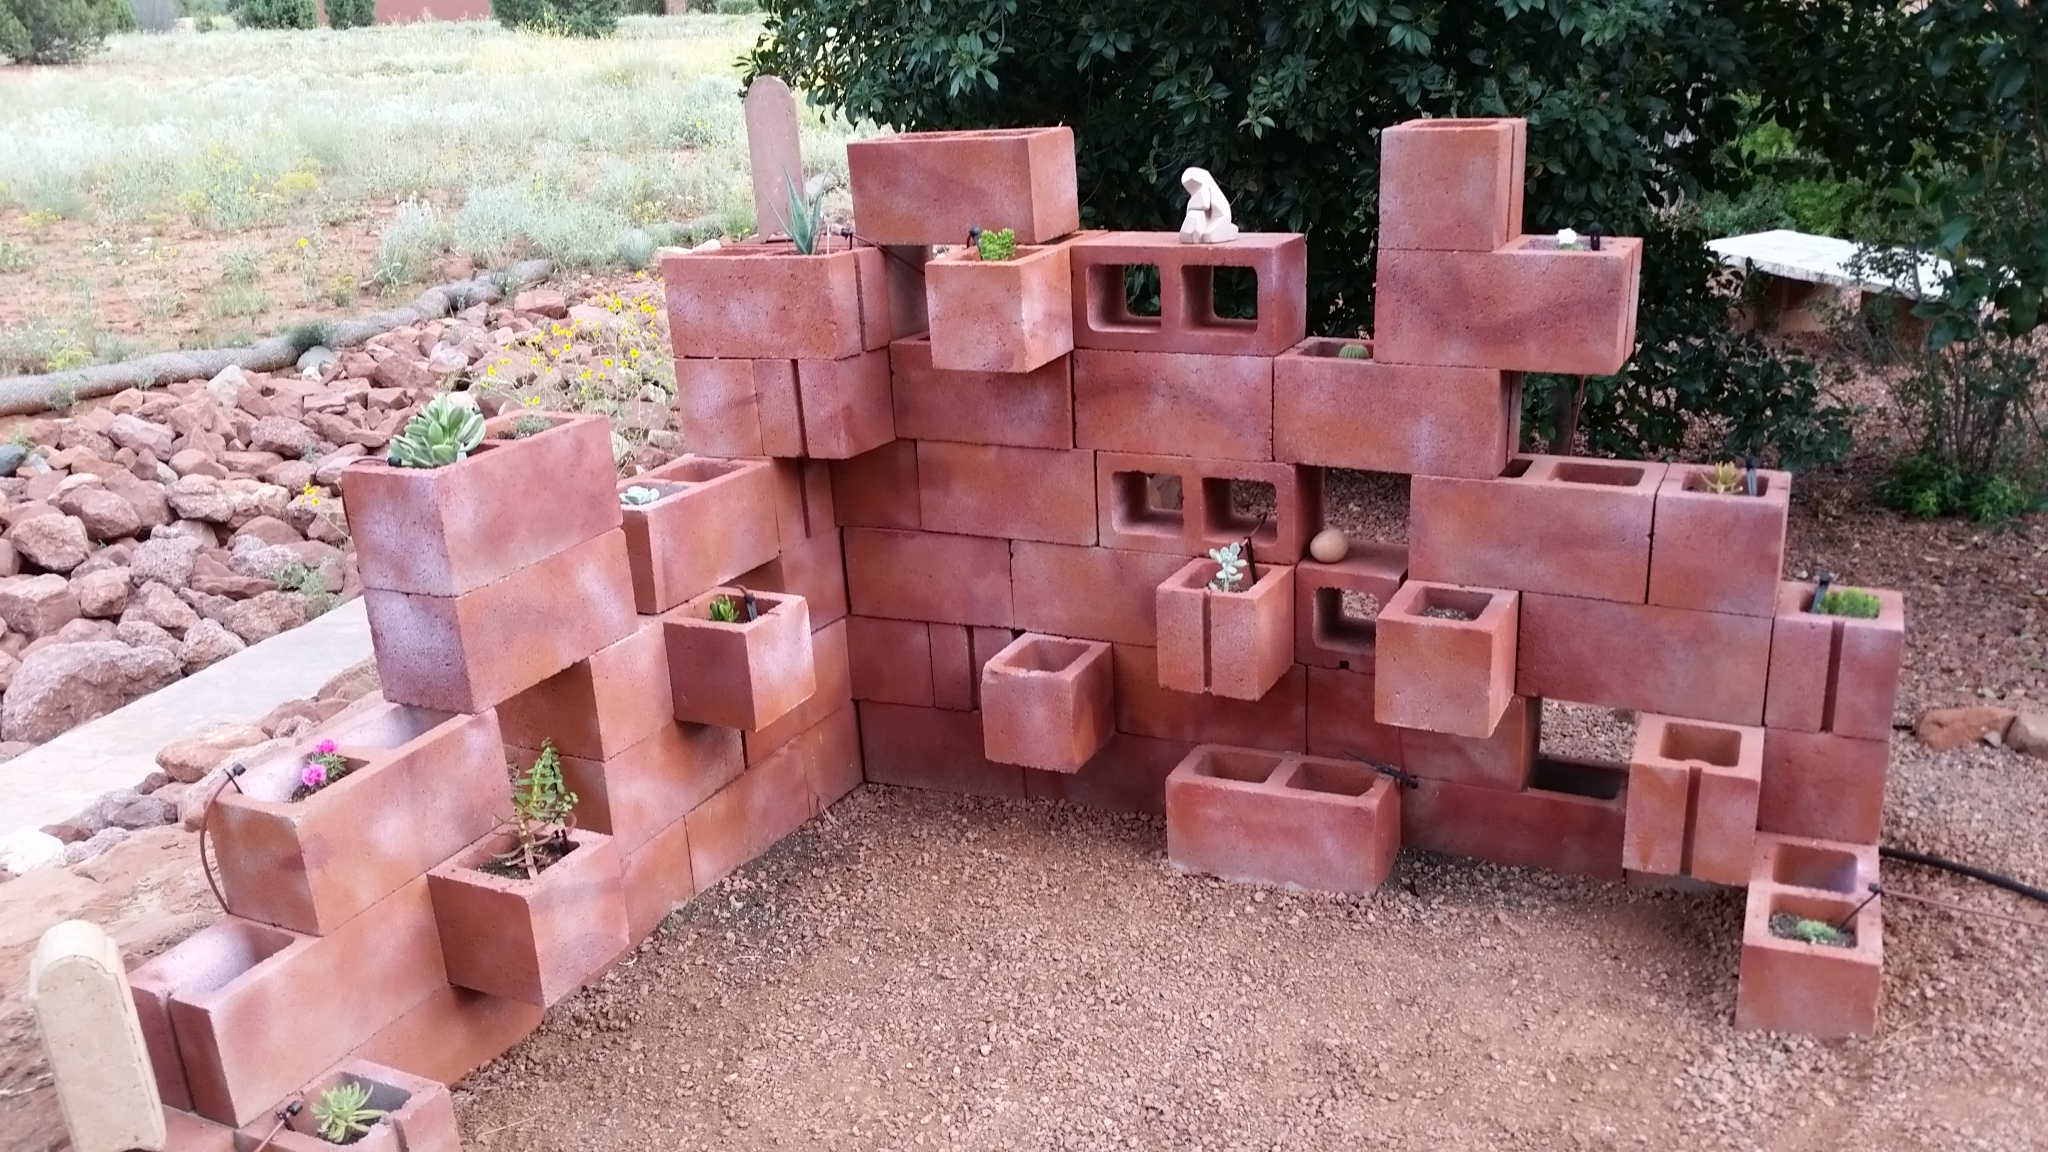
I posted pictures on Facebook of my cinder block cantilevered succulent garden. There was a hot, barren corner of the yard that just sort of faded into the neighbor’s’ shrubs and a newly sprouted gray thorn bush. (ouch). I didn’t have water over there, though I added a drip system when I learned succulents need a lot of water in the summer. I haven’t grown them before, so let’s hope I don’t drown them.
I got the idea for the cantilevered cinder block garden from seeing one at a friend’s house in Los Angeles. Her son took a year of architectural school and something cantilevered was an assignment–and a mother’s day gift. Linda’s patio was not a rectangle, but did have several right angles–some concave, and some convex. The garden Kevin built her was probably three feet high (my memory). The blocks were their natural gray color, as was her concrete patio floor.
Kevin directed us to the Internet where you can find dozens of ideas from the very simple to the very complex. My vision was to just have a corner sort of wall, with one leg longer than the other.

Your Design
There are two primary ways to go about building a project like this:
- Plan it out on paper, to the inch
- Conceive a general idea, procure the materials and start building. For this project, I chose this option.
- I knew I wanted to mix in single block (half size blocks0 to create interest
- I knew I wanted to leave half-block gaps occasionally
- Though the garden is designed to face my yard, I wanted one growing pocket to extend out both back walls, so when seen from the ends or back, meaning and interest are supported
- I knew I wanted it taller than Linda’s but not tall enough to look like a wall, and
- I wanted it to blend with the colors of our home, yard and environment–something I believed I could accomplish with stain or spray paint
Common Block Sizes
 Blocks come in almost any size and design you want. But I live in a small town, and even the building supply store doesn’t carry block! Common gray rectangular blocks measure 16 X 8 X 8.
To buy the needed materials, decide your total length. Though common gray blocks are 16 inches, like 2 X 4’s in lumber, they are really 15 5/8. However, just broadly estimate 3 blocks cover four linear feet. If you want eight feet in one direction and six in the other, your bottom track needs approximately 10-11 blocks, depending upon how you address the corner.
Some blocks have grooves on the end, which was another design element I wanted to incorporate. (The pallet of blocks at Home Depot was mixed, holding few with the grooves. Even with a torn rotator cuff, I helped load my truck so I could select some of these interesting chunks of concrete.) I’m told the groove is for rebar.
 I wanted to incorporate the interesting “half block,” which as pictured also illustrates the groove I used as a design element, run either vertically or horizontally! Including this style may throw off your ever-so-precise measurements, because they are 7 5/8 inches each direction, give or take 1/8th. Where implemented, I had about a one-inch gap either on one side, or half that by centering the ‘half block.’
Getting Started
Everything I’d read said this needed very precise measuring, leveling and stacking–to the micro inch. As I dug a small trench to level my very sloped yard, it occurred to me laying down a board would make a very straight foundation. The problem was, I could not get the 8 ft. board to lie level its entire length. I decided it would be easier to raise or lower a 16 inch block one at a time than to get that 2X6X8 to cooperate!
I did, nonetheless, use a small level reader, about a 10-inch job. I read the level lengthwise and crosswise on each block I laid. Being off 1/8 of an inch on one block could make the whole project off an inch or so later on. I was not a perfectionist on this aspect, believing as I do that perfection is often the death of accomplishment and now ever more so that I am a person of a certain age, I don’t have enough time left for perfection in everything I choose to do. (In print, I still think it’s primary, but in gardens and block walls, not so much.)
To level a block, one can either pull out a little more dirt from one side/end, or push more in (even pebbles) to raise the other side/end.
As I gained height, using pebbles, preferably flat ones, became more important to insert between one end of a block to raise it level with the other end.
Carrying On
I began with 42 blocks. The Home Depot helper said he gave me an extra one. The guy I paid to empty the truck overloaded the wheelbarrow and broke one. To finish, I needed 10 more blocks, purchased at my local Ace Hardware, where they cost a dollar more but were also 20% thicker and heavier (outside dimensions the same).
 Lessons Learned
Though I just declared I wasn’t aiming for perfection, after living with the garden a couple of days, I decided the east wall sloped too much, which coupled with the opposite slope of my yard appeared exaggerated. I took one wall down. I wished I could repeat the exact reconstruction—and I might have, had I taken a picture—but in the moment I told myself I’d get to enjoy the creative process all over again, just as though I’d never build the first wall.
Because of the degree of effort involved, I worked tirelessly to keep the wall online and level top to bottom as well as front to back. One block being off by a hair will throw the next block off by three hairs!
One of the triumphs that came from completely rebuilding that section was creating a double height vertical growing space which I really love.
I also experimented with making the corner stout, as with four blocks in a pillar, versus spare–only two. I liked the stouter look, and wanted a focal point.
Planting Pockets
I’ll get into the how-to’s of creating the planting pockets (how do you keep the dirt in there?) and the circus of learning by trial and error in part 2 of My New Succulent Garden.

Hi, I think you visited my site, so I came to return the favor. I’m trying to improve it, so I guess I can take some of your suggestions.
I do believe all the ideas youve presented for your post They are really convincing and will certainly work Nonetheless the posts are too short for novices May just you please lengthen them a little from subsequent time Thanks for the post
Hi Neat post Theres an issue together with your web site in internet explorer may test this IE still is the marketplace chief and a good component of people will pass over your fantastic writing due to this problem
I’m always excited to explore your latest post.
Your passion for your subject is inspiring.